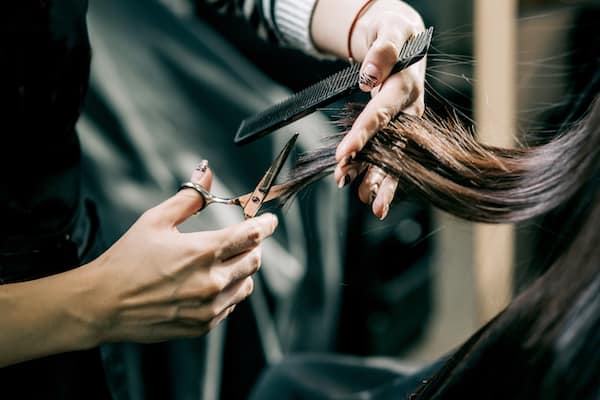
Haircuts are expensive, especially for women. Sure you can go to your local great clips and see what happens but that is a high risk situation, that probably won’t reward you. The next best option is cutting your hair at home. If you want a bob, it is pretty easy, just cut a straight line. If you want bangs, you probably already tried that by yourself when you were twelve with your mom’s kitchen scissors. But if you want a long layer hair cut is can take a bit more practice to get it right. So if you want a long layered look without shelling out $200, here is how to do it at home.

Get Your Tools
Although the kitchen scissors you used to cut your bangs when you were twelve will suffice, they are not preferably. Try to get scissored that were made for hair cutting. But if they are inaccessible to you it should be fine, just make sure to double check everything as you cut. You’ll also need a comb, a spray bottle, and depending on the length and thickness of your hair, some hair ties or clips to keep extra strands away.
Hair Prep
Make sure your hair is clean, preferably damp. If you don’t want to fully wash your hair beforehand, get a spray bottle and fill it with water. Dampened hair is much easier to maintain while cutting. This is especially true for those of you with curly or wavy hair, it will help you keep your hair straight. The moisture will help insure you cut your hair properly and evenly without doing any damage.
Last step before you start cutting is to part your hair in the middle. It does not matter how you usually part your hair, a center part for the cut is the best option. No matter how you decide to style your hair it will some out looking awesome
See Also: Grow out Your Lucious Locks Naturally
Bottom Up
Start with the bottom portion of your hair. If your hair is really thick you may need to create more sections, but usually two to three will work. Make sure the top two (or more) sections are tied away and there is no chance of them accidentally getting cut. Unwanted strands getting cut at the wrong time can ruin your whole long layer hairstyle.
First Cut
Of your bottom layer take the strand that is closest to the front and decide how long you want it to be. Pull that first strand forward so that it is parallel with your face and cut vertically. Don’t release the strand after you cut, but when you do eventually let it go, the vertical cut will create the layers effect.
Keep this first strand as you guide as you grab more hair and pull it parallel to your face again. The curve of your head will insure that the hair at the back of your head will be longer than that at the front. Make sure as you make your way back across your head that you always keep your guide strand, so everything will come out even. Do your best to make the right and left halves of your head look even. You can create separate guide strands on each, but make sure they are equal in length.
Top Two Layers
While the hair you just cut has a layered effect from front to back, you still need a top down layer, which will be done with the top two thirds of your hair. You will use the same technique as before, but instead of pulling the hair in front of your face, pull it above your head. When you have decided on your length make a horizontal cut on the strand. Keep your guide strand as you work your way around your head. Start by going down your head then working your way backward.
Some Extra Style
You could stop with the layering technique described above, but if you want the full effect of the long layer hair cut, theres still one more step. Let all your hair down now that it has been cut and grab the strands closest to your face. Make a diagonal cut away from your face. When you do both sides makes sure they are symmetrical and even. This extra cut will frame your face, to create the best long layer effect possible.
If you have any more questions check out this video tutorial for help or comment below.
If you need some styling tips for your new hairstyle, check out one of our articles here.


